Looking to boost your home’s safety without breaking the bank? This DIY security camera installation guide walks you through the essentials—planning, setup, and system activation—to help you secure your home quickly and confidently. Whether you’re a curious beginner or a home improvement enthusiast, this security system setup guide demystifies the process and puts peace of mind well within reach.
Why Install Home Security Cameras Yourself?
DIY security camera installation puts the control in your hands and can lead to significant savings. By avoiding professional installation fees and learning how to install a home security camera, you’ll gain valuable knowledge and enjoy a higher level of personalization. Plus, the satisfaction of setting up your own security system is hard to beat.
- Save on installation costs
- Customize positioning to fit your unique needs
- Immediate access and response for ongoing tweaks
Choosing to handle your own security system setup means you can adjust, test, and upgrade as you see fit—without scheduling appointments or relying on third parties.
Pre-Installation: What You’ll Need
Before you begin, take inventory of the essential tools and equipment for your DIY security camera installation. Ensuring you have everything handy speeds up the process and reduces interruptions.
- Security cameras (wired or wireless)
- Network or digital video recorder (NVR/DVR) if applicable
- Power drill, screws, and wall anchors
- Measuring tape and pencil
- Ladder (for higher placements)
- Ethernet cables (for wired cameras)
- Smartphone or computer for initial configuration
Keep all packaging and instruction manuals accessible. Reading through the manufacturer’s materials can reveal important details and save hassles later.
Planning Your DIY Security Camera Layout
Strategic placement is crucial for maximizing your system’s effectiveness. Walk around your home’s exterior and interior to determine which areas need coverage, and consider the following when planning your DIY security camera installation:
- Entrances and exits (front door, back door, garage)
- Driveways, walkways, and outbuildings
- First-floor windows vulnerable to break-ins
- Common home traffic areas (hallways, stairwells)
- Living rooms or spaces with valuables
Avoiding Common Placement Mistakes
It’s easy to miss angles or accidentally create blind spots. Avoid aiming cameras directly at a light source, as glare can obscure footage. Ensure each camera’s field of view overlaps slightly with its neighbor for seamless coverage. Position cameras high enough to prevent tampering but low enough for clear facial recognition.
Which Cameras Should You Choose?
Deciding between wired and wireless cameras impacts your installation process and long-term maintenance.
Wired Cameras
- Reliable connection with minimal interference
- Ideal for large homes or extensive systems
- Requires running cables through walls or ceilings
Wireless Cameras
- Easier to install and reposition
- Runs on Wi-Fi; battery or plug-powered
- Great for smaller spaces or renters
Consider add-ons such as motion detection, night vision, two-way audio, and cloud storage, depending on your security needs and budget.
Step-by-Step DIY Security Camera Installation
Following a clear, actionable process sets you up for success. Here’s a simplified security system setup guide to get you started.
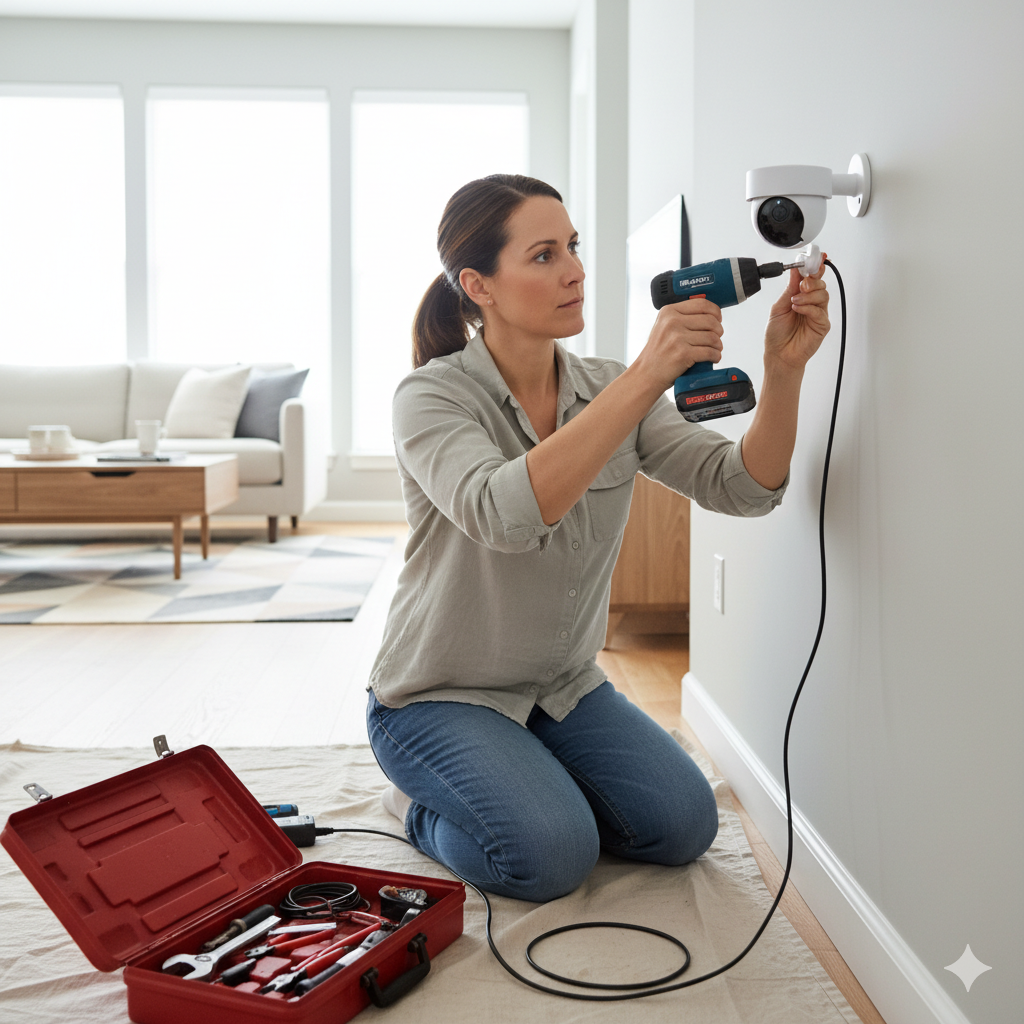
1. Mounting the Cameras
- Use the measuring tape and pencil to mark drill holes at your chosen locations.
- Drill pilot holes and insert wall anchors if necessary.
- Attach the mounting bracket, then secure the camera onto the bracket.
- Adjust the angle for the best coverage and tighten all screws to keep it fixed.
2. Setting Up Wired vs. Wireless Models
For Wired Cameras:
- Run Ethernet or power cables from cameras to the recording device (NVR/DVR).
- Conceal cables under moldings or along baseboards for a neat appearance.
- Label cables at both ends to simplify troubleshooting in the future.
For Wireless Cameras:
- Insert batteries or connect each unit to its power source.
- Follow manufacturer's instructions to pair cameras with your Wi-Fi network.
- Check for strong signal strength at each location—consider a Wi-Fi extender if needed.
3. Connecting to Your Security System
- Plug in and power up all cameras and recording devices.
- Download the manufacturer’s app or use a web portal to add each camera to your account.
- Follow prompts to name devices, set motion detection zones, and configure notifications.
4. Testing and Adjusting Your Setup
- View live feeds through the app or monitor to confirm coverage.
- Walk around the detection zones to test motion alerts and camera angles.
- Adjust positioning as needed for maximum clarity and range.
- Enable recording features, set passwords, and double-check system firmware for updates.
Tips for Optimal Home Security Camera Performance
Even after installation, ongoing maintenance ensures your system works smoothly. Here are some best practices after you learn how to install home security cameras:
- Clean camera lenses regularly for clear images.
- Revisit and tighten mounting screws every few months.
- Check battery levels or power supply connections.
- Periodically review recorded footage for quality and retention.
- Update firmware to patch vulnerabilities and add features.
Opting for DIY home security lets you scale up your system as needed, so consider adding more cameras or integrating smart home devices over time.
Troubleshooting Common Issues
Effective DIY security camera installation involves quick problem-solving. Here are solutions for frequent hiccups:
- Blurry or grainy images: Clean the lens, adjust focus screws, or reposition away from direct light.
- Connection drops: Move the router closer, use Wi-Fi extenders, or minimize interference from thick walls.
- False motion alerts: Refine detection zones or sensitivity in camera settings to reduce unwanted notifications.
Reliable resources, including manufacturer support lines and online forums, can provide additional guidance for unique situations.
Securing Your Video Footage
Your security system setup guide isn’t complete without addressing privacy and secure storage:
- Use unique, strong passwords for all connected devices.
- Turn on two-factor authentication if available.
- Choose local or encrypted cloud storage for recording footage.
- Regularly review who has access to your camera feeds and apps.
Protecting your video data is as essential as the physical installation of the cameras themselves.
Integrating With Smart Home Systems
Modern home security cameras frequently support integration with other smart home devices, such as doorbells, lighting, and alarm systems. This enhances your home's security ecosystem and allows you to automate alerts, lights, and recording schedules.
- Check compatibility with your existing smart home hub (e.g., Google Home, Amazon Alexa, Apple HomeKit)
- Use routines or automation to activate cameras when you leave the house
- Sync footage viewing with voice assistants or smartphone widgets for on-the-go monitoring
Maintaining Your System for Long-Term Reliability
Taking the time to inspect your system occasionally minimizes future issues and ensures it remains effective. Make it a habit to:
- Back up footage (especially before vacations)
- Change access codes periodically
- Replace batteries proactively (for wireless units)
- Evaluate new tech options each year for continuous improvement
Staying proactive means your DIY security camera installation will deliver benefits for years to come.
Conclusion
DIY security camera installation is both manageable and rewarding. With purposeful planning and careful setup, you’ll create a safer, smarter home environment on your terms. Take the first step towards greater peace of mind—your security upgrade can begin today.
Home Security Solutions for Every Budget: Finding the Right Fit
Cloud vs Local Storage for Security Cameras: What Should You Choose?